The thing is, I’m not very good at building things. I just don’t have that logical eye or common sense math. So why, again, is the woodshop class not required for high school graduation? It really should be along with sewing, cooking, bookkeeping, and some basic debt education. Whoops, I slipped right into a rant! Regardless, my grow light set-up was something to be desired. Luckily, I had a holiday around the corner, and my handy-dandy bored engineer hates to shop ding-ding-ding! We have a winner!
Grow light set-up
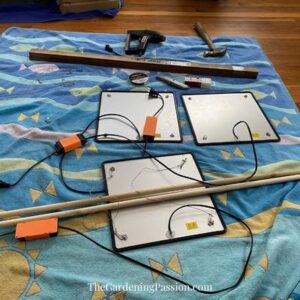
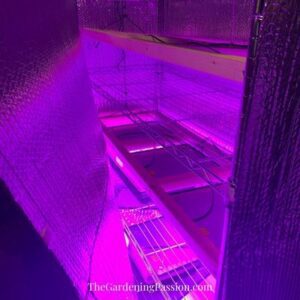
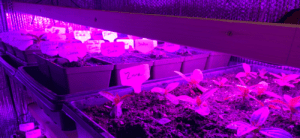
I’ve had grow lights in the past, and they worked great – but they were the bar style. The problem with the bar style was that the plants that fell outside the direct rays suffered. Therefore, I chose a wide, flat panel style when shopping for new grow lights. I love these grow lights; they are 12”x12” and work great. However, they didn’t raise or lower easily. My grow rack is four feet long, so I need three for each row. So I devised this pathetic attempt, which left the lights weeble-wobbling around. When the bored engineer saw it, he just shook his head.
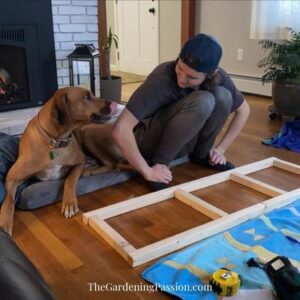
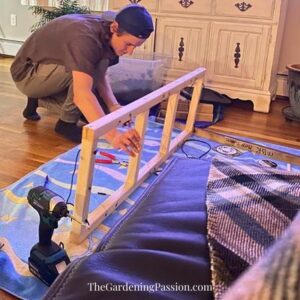
Building a grow light frame
Did we build this grow light frame in the living room? Yes, yes, we did. Did I help no, no I did not. (When you read this, dear husband, don’t freak – he used the saw outside on the sidewalk.)


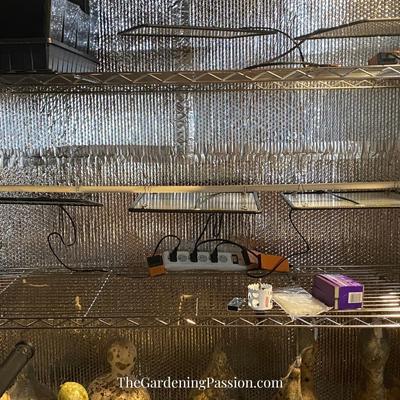
Temperature control
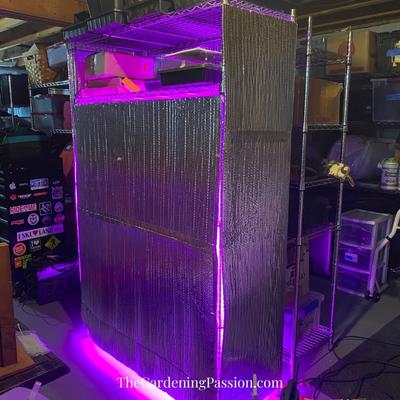
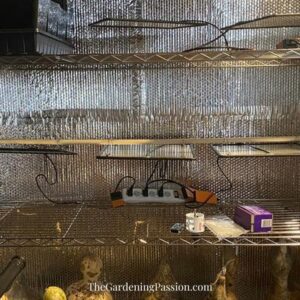
My grow rack is in the basement with the garage. So every time we come into the house through the garage, the basement gets a blast of cold air. To control the temperature of my plant babies, I wrapped the grow rack with insulation. The insulation is four feet wide, so I taped two together, allowing me to customize the size. A side benefit is that the reflective nature bounces the light back, creating more even lighting for all the plants. I can open and close the front panel with a simple Velcro closure.
Multi-plug extender
There isn’t a magic equation for the multi-plug extenders. However, there are three crucial parts to consider when buying multi-plug extenders. One is a timer; no need to go crazy here; a simple timer works great. The second important part is that the multi-plug extender is long (so you can zip-tie them out of the way to the rack) and have rotating plugs (this allows you to plug multiple lights into one strip without the heads bumping into each other). Thirdly, make sure they are surge protectors – no need to fry all your grow lights with the next storm!
If you’ve ever looked at the price of an already built and designed grow light system – whew! It’s expensive! Plus, I kinda like the creative part of putting it all together. Do you have grow lights? What do you like best about your set-up?
~ Lola
“There are no gardening mistakes, only experiments!”
Do you have grow-lights? Have you been thinking about it? If so, give it a whirl and let us know what you think!
Make a grow light set-up for yourself!
This post may contain affiliate links. These affiliate links help support this site. For more information, please see our disclosure policy. Thank you for supporting The Gardening Passion!
Gardens we’ve built
Why I Garden; if you grow it, they will eat it
Community Oasis Garden; exploring the passion
The Gardening Passion Expands; the garden that created a bidding war
Quick Turn Garden; two years and counting
The Empty Nest Garden; totally out of control
Coops we’ve built
How NOT to Build a Chicken Coop
The Bored Engineer’s Coop
This content was originally published at The Gardening Passion and is copyrighted material. If you are reading this on another website, it is being published without consent.